It’s not always possible to update your Ubuntu version with just one command. In these cases, we need to set up a new server and migrate the files between them.
In this tutorial we will see how to copy your projects from Ubuntu 20.04 to Ubuntu 24.04 under WSL.
Listing your current WSL distros
wsl -l -vYou will see something like this:
Ubuntu-20.04 Running 2Create the new Ubuntu distro
In the Windows Command Prompt ou Powershell run the command below, and you will create a new Ubuntu WSL instance, without replace the current.
wsl --update
wsl --install -d Ubuntu-24.04
List the current WSL distros again with wsl -l -v , you should see both the newest instance now.
Ubuntu-20.04    Running   2
Ubuntu-24.04    Stopped   2
Copy files between instances
Someone could copy the files between the WSL instances using a Windows command like robocopy, but this method would be extremely slow.
Others might try copying the files from within the Linux instances, which could be more work than expected.
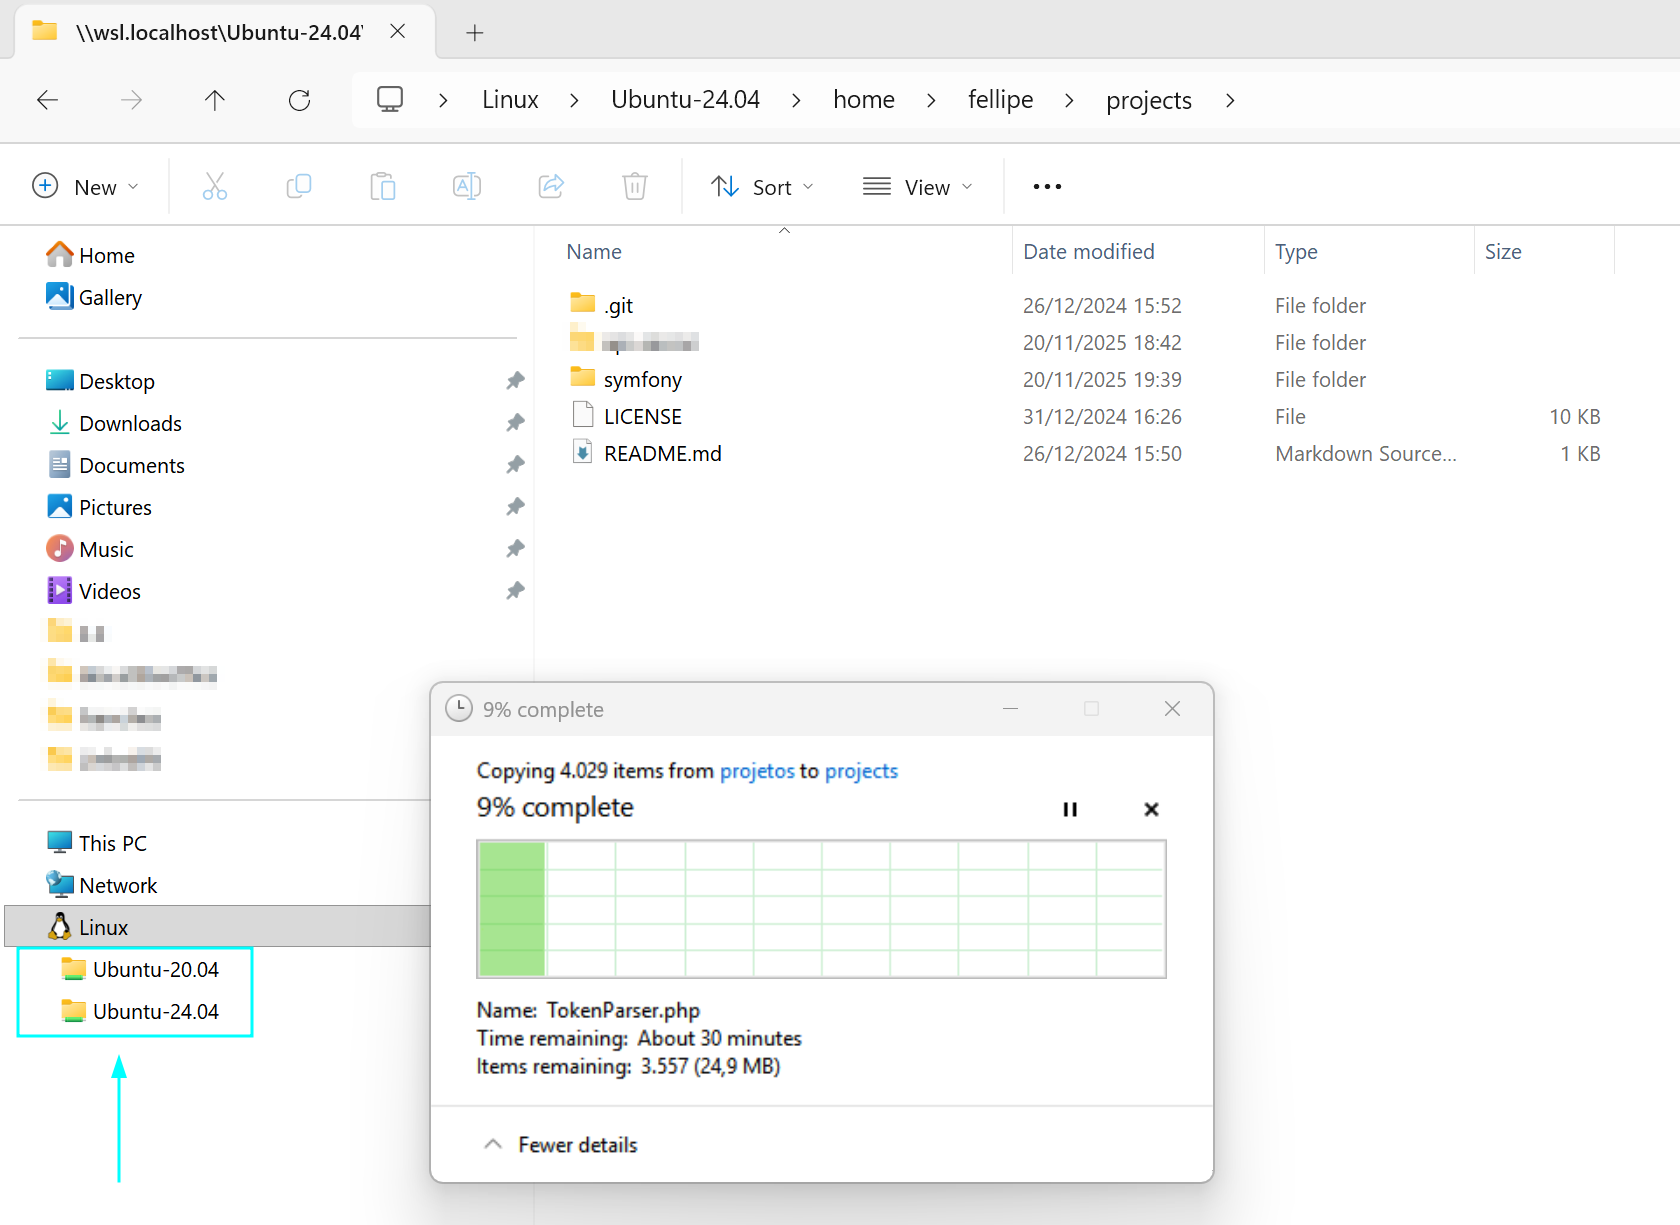
Instead, we will copy the files directly inside the Windows Explorer, the simpliest way.
In Windows Explorer, find the folder of both WSL, and just copy the files that you need from origin folder to destiny folder:
Easy, no? But…
The copies will be made. However, in the destination directory, we will have the Zone.Identifier files included; It is an NTFS Alternate Data Stream (ADS) automatically created by Windows.
We don’t need them on our Linux system, so let’s remove them. Enter in the newest Linux created typint this in cmd or PowerShell:
wsl -d Ubuntu-24.04Go to the project directory:
cd ~/projects/
sudo find . -type f -name '*:Zone.Identifier' -exec rm -f {} \;
Okay, now we only have the same files from the old Ubuntu in the new Ubuntu.

Finally, we now just need to adjust the permissions that are set for the root user to work on the files contained in /home/fellipe/projects which currently are granted to the root user. For it type:
sudo chown -R fellipe:fellipe /home/fellipe/projectsOkay…

Now you have your files on a new server, ready to be worked on.
Remember, since you’re working from a new Ubuntu, the entire work environment will also need to be configured; things like the web server and PHP will need to be installed.
Leave a Reply